A new mattress represents a significant investment, and bed bugs can turn that investment into a costly problem within days. The most effective protection starts before the delivery truck arrives and continues through a disciplined inspection and encasement routine. I have spent two decades in residential pest management, and I can tell you that prevention is far less expensive than remediation—especially when a mattress is involved.
Preparing Your Space Before Delivery
The room where your new mattress will live needs to be a controlled environment, not a staging area for clutter. I tell clients to start with a blank slate: remove all existing bedding, pillows, and any fabric items that could harbor hidden insects. Vacuum the floor thoroughly, paying attention to baseboards, electrical outlets, and the corners where walls meet the floor. These are the highways bed bugs use to travel.
Inspect the intended delivery path from your front door to the bedroom. Look for cracks in walls, gaps around pipe penetrations, and loose floorboards. Seal what you can with silicone caulk or painter's tape as a temporary measure. The goal is to eliminate bridge points where bed bugs could transfer from your home's existing population—if one exists—onto the new mattress during the unboxing process.
Designate a quarantine zone in the center of the bedroom, at least 18 inches from any wall or furniture. This isolation prevents immediate contact with potential harborages. I often see homeowners rush to position their new mattress against the headboard, only to realize later that the headboard itself was the source of an existing infestation.
Inspecting Packaging and the Mattress Surface
Bed bugs do not spontaneously generate inside sealed factory packaging, but they can enter if the plastic is compromised during shipping or warehouse storage. Examine the outer plastic for punctures, tape repairs, or signs of previous opening. If the packaging appears intact, proceed with unboxing in your designated quarantine zone.
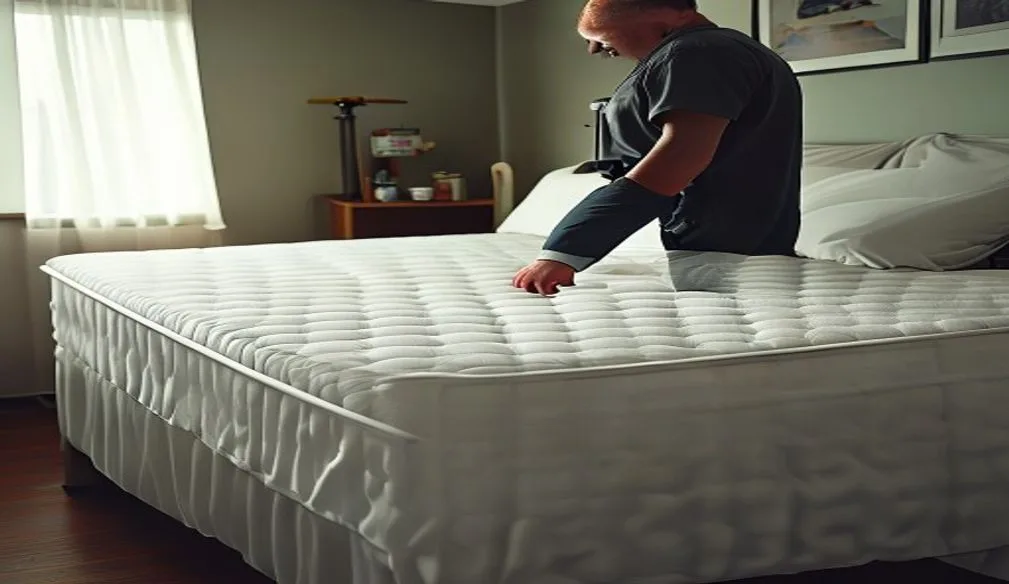
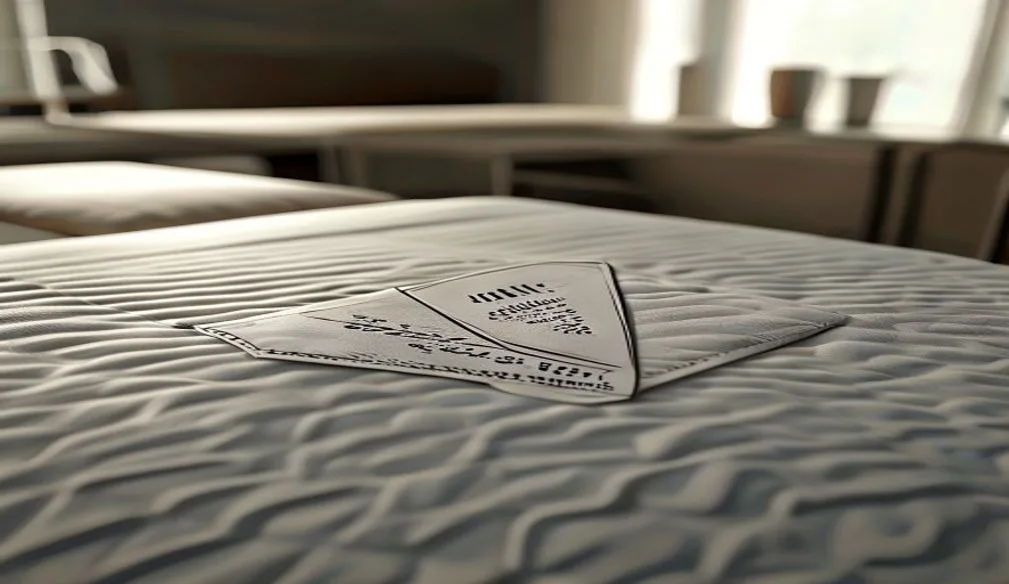
Once unwrapped, conduct a systematic inspection using a bright flashlight. Work methodically from one corner to the opposite corner, examining seams, tufts, tags, and any quilted patterns. What I tell clients to look for: live insects (rusty-brown, apple-seed-sized), fecal spotting (tiny dark dots that smear when dampened), shed skins (translucent, empty exoskeletons), and eggs (pearly white, about 1mm, often clustered in crevices).
Do not rely on visual inspection alone if your building has a known bed bug history. In my field work, I have encountered new mattresses that appeared pristine but were stored in infested delivery vehicles or warehouse facilities. The inspection is your first line of defense, not your only one.
Selecting and Installing a Bed Bug-Proof Encasement
An encasement is not a luxury accessory—it is the primary protective barrier for your investment. Not all products marketed as "bed bug proof" meet the necessary specifications. The critical features separate effective encasements from decorative covers that offer false security.
| Specification Requirement | |
|---|---|
| Zipper mechanism | Micro-serrated teeth with interlocking closure; no gaps at zipper pull terminus |
| Zipper guard | Fabric flap or seal covering the entire zipper track |
| Fabric construction | High-denier polyester or poly-cotton blend with tight, bed bug-impermeable weave |
| Pore size | Less than 20 microns to exclude nymph-stage insects |
| Testing claim | Independent laboratory certification for bed bug containment |
Install the encasement immediately after inspection, before any sheets or bedding contact the mattress surface. This sequence matters: if bed bugs are present, you trap them inside where they cannot feed; if bed bugs arrive later, they cannot penetrate to the mattress interior. Ensure the zipper is fully closed and the guard is properly positioned. I have seen encasements fail because the zipper was left open two inches at the corner.
Environmental Controls and Ongoing Vigilance
Protection extends beyond the mattress itself. Install bed bug interceptors under each leg of your bed frame—these simple devices trap climbing insects in a smooth-walled pit, providing both protection and early detection. Keep the bed positioned away from walls, nightstands, and headboards. Bed bugs are opportunistic climbers; eliminate the bridges they need to reach you.
Maintain a clutter-free bedroom. Clothing on the floor, storage boxes under the bed, and stacks of books create harborages that complicate detection and treatment. Vacuum weekly, disposing of the contents in a sealed bag immediately. What homeowners miss most is the baseboard zone: bed bugs travel along these edges, and vacuuming here disrupts their movement patterns.
If you travel frequently or receive guests, your risk profile changes. Inspect luggage before it enters the bedroom. Store suitcases away from sleeping areas, preferably in a garage or sealed plastic container. After any trip, launder travel clothing in hot water and dry on the highest heat setting your fabrics can tolerate.
Responding to Suspicious Signs
Discovering a live insect, fecal spot, or shed skin on or near your new mattress requires immediate, measured action. Panic leads to mistakes—like removing the encasement or applying inappropriate treatments that damage the mattress and create health hazards.
Confirming the Identification
Capture any suspected insect using clear tape or a sticky trap. Compare the specimen to verified bed bug images from university extension services or consult a licensed pest control professional. Many insects are mistaken for bed bugs: bat bugs, carpet beetles, and spider beetles share superficial similarities but require different management approaches.
Containing the Situation
If your encasement is already installed, leave it in place. The zipper seal contains any bugs inside, preventing them from feeding or spreading. Vacuum the exterior surface thoroughly using a HEPA-filtered machine, concentrating on the zipper area where insects might congregate. Wipe the encasement with a damp cloth to remove surface debris.
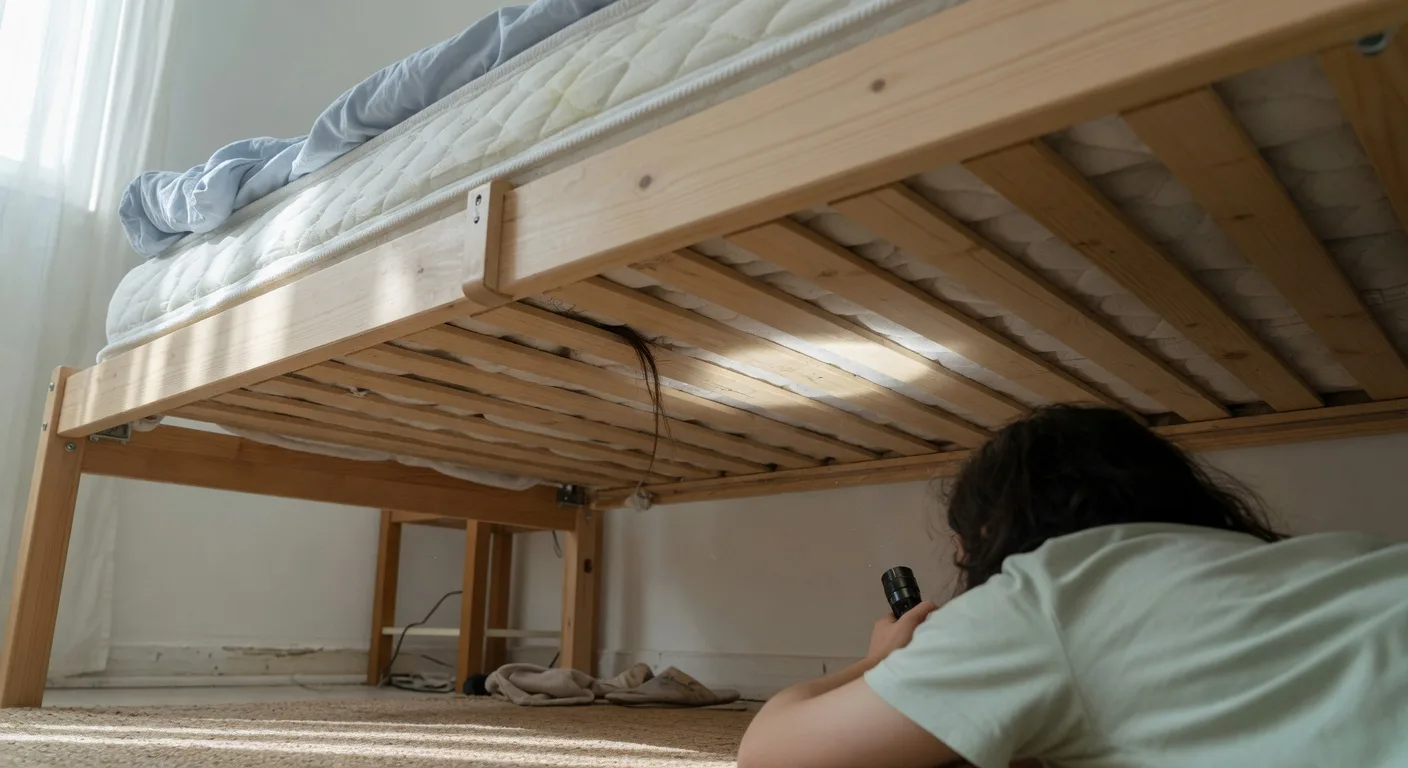
Inspect the bed frame, headboard, and nearby furniture with flashlight and credit card—use the card edge to scrape into cracks and crevices where insects hide. Evidence in these areas suggests the mattress was not the original source, but rather a secondary contact point.
When Professional Intervention Becomes Necessary
Do not apply insecticides, essential oils, or heat devices directly to a new mattress. These materials can degrade foam, void warranties, and create exposure risks. If you confirm bed bug presence or find evidence in surrounding furniture, contact a licensed pest management professional. Integrated Pest Management approaches—combining physical removal, targeted heat application, and monitoring—address infestations without the chemical risks that damage mattresses.
Understanding Encasement Limitations and Timelines
An encasement does not kill bed bugs immediately. Insects trapped inside survive for extended periods without feeding—typically 12 to 18 months under optimal conditions. The encasement's value is exclusion: it prevents bites and prevents bugs from establishing harborage in the mattress interior. Leave the encasement in place for at least 18 months if you have any reason to suspect initial contamination.
Inspect the encasement exterior monthly for the first six months, then quarterly thereafter. Look for tears, zipper separation, or accumulation of debris that might indicate insect activity. Replace encasements that show physical damage—bed bugs exploit the smallest breach.
Practical Questions from the Field
Can vacuum-sealed factory packaging guarantee a bed bug-free mattress? No. While vacuum sealing reduces risk, punctures during handling or pre-sealing contamination in manufacturing facilities can introduce insects. Always inspect regardless of packaging claims.
Is a mattress topper safe to use over an encasement? Yes, with conditions. The topper must be washable in hot water or dryer-safe on high heat. Wash weekly if bed bug exposure is a concern. Never place the topper between mattress and encasement—this creates an uninspectable void where bugs can accumulate.
How long should monitoring continue? Monthly inspections for six months, then quarterly, assuming no travel or guest exposure. Increase frequency after any high-risk event.
Frequently Asked Questions
Can bed bugs live in a foam mattress?
Bed bugs do not burrow inside memory foam, but they readily hide on seams, zippers, labels, and the underside edges where the cover meets the frame.
Foam mattresses still need encasements and seam inspections like any other bed. Focus on tufts, piping, and nearby furniture—not the foam core itself.
Can bed bugs live on memory foam mattresses?
Yes—bed bugs can live on memory foam mattresses by sheltering in seams, folds, and bed frames. They are not inside the foam block but on surfaces you touch when changing sheets.
Check piping with a flashlight, install a bed-bug-proof encasement, and isolate the bed from walls while you monitor or schedule professional treatment if needed.
Can you see bed bugs with the naked eye on a mattress?
Yes. Adult bed bugs are about apple-seed size (4–5 mm), reddish-brown, and visible on light-colored mattress fabric when you part the seams with a flashlight.
Nymphs and eggs are harder to spot but still visible as tiny pale insects or white pinhead ovals. Slow, close inspection beats a quick glance—check seams, tags, and box spring corners.
How do you identify bed bugs on a mattress?
Strip bedding and run a flashlight along mattress seams, piping, tags, and the box spring corners. Adults are apple-seed sized; eggs are pinhead white ovals glued in clusters.
Look for rusty blood spots on sheets and dark fecal dots that smear when lightly wiped. Repeat on both sides of the mattress and the bed frame before deciding on encasements or professional help.