I’ve spent more than two decades walking into bedrooms, hotel rooms, and apartment units where the occupants thought the problem was impossible, and almost every one of those jobs came down to heat, preparation, and patience. Professional heat treatment for bed bugs is one of the few non-chemical methods that can reach inside wall voids, mattress seams, and furniture joints when it’s done correctly. What homeowners need to understand is that heat is a tool, not a magic wand — the room has to be prepared, the temperature has to be held at the right level for the right amount of time, and the follow-up has to be disciplined. In my field work, the cases that fail are almost never failures of the heat itself; they’re failures of preparation, monitoring, or both.
Why Heat Penetrates Where Vacuuming Cannot
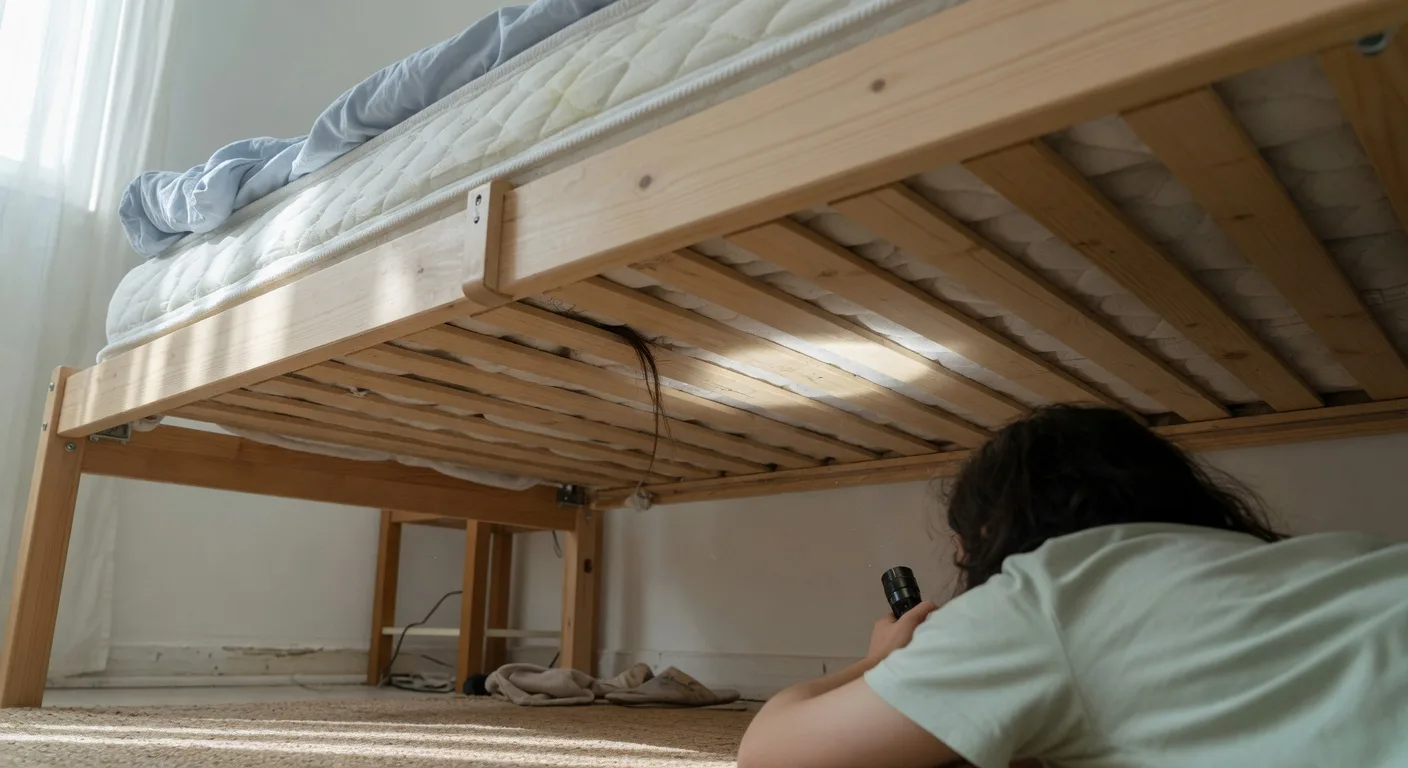
Bed bugs hide in places a vacuum hose simply cannot reach — inside electrical outlets, behind switch plates, deep inside box-spring folds, and within the wood joints of a bed frame. Steam and heat both push into those cavities in ways that mechanical removal never will. What I tell clients is that vacuuming is the first line of defense because it physically removes adult bed bugs, Nymphs, and a portion of the eggs, but heat is what finishes the job in the spaces your vacuum never touches. The two methods work together, and treating them as either-or is one of the most common mistakes I see.
Heat works by denaturing the proteins inside the insect’s body and disrupting the waxy coating that keeps moisture in. Once the internal temperature of the bug, or the egg, crosses a lethal threshold for a sustained period, the organism can no longer function. Eggs are tougher than adult bed bugs, which is why a rushed or uneven heat cycle often produces a hatch two weeks later and a callback that nobody wants.
What a Professional Heat Treatment Actually Looks Like
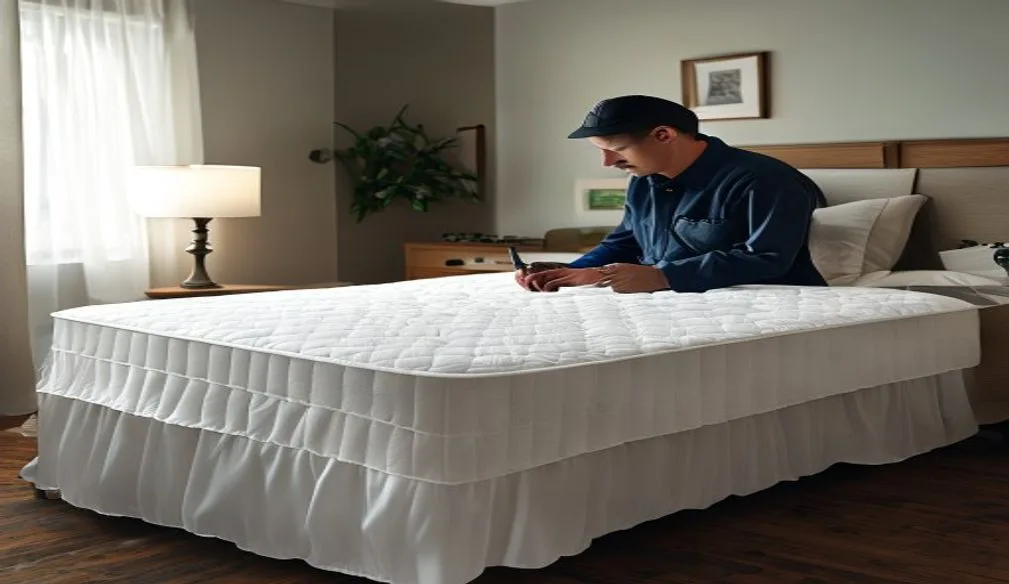
A proper heat job starts long before any heater is turned on. The technician walks the room with a flashlight, a magnifier, and a moisture meter, marking every item that could be damaged or that could shield the bugs from heat. Electronics, candles, aerosols, and certain cosmetics have to come out of the room. Aquariums need to be relocated. Plants cannot tolerate the temperatures used, so they leave too. What homeowners miss most is how much preparation this actually involves; a one-bedroom job can take an hour to prep before the heaters ever run.
Once the room is clear, the crew sets up industrial electric heaters, fans to circulate the air, and a network of temperature sensors placed at the floor, mid-wall, and inside furniture. The goal is to raise the core temperature of every object in the room — including the inside of the mattress and the center of the box spring — to a level that kills both adult bed bugs and eggs. Sensors feed readings to a controller so the technician can see, in real time, whether the heat is holding. I’ve watched crews abort a cycle when one corner of a closet lagged behind, because uneven heat is the same as no heat at all.
After the cycle ends, the room has to cool slowly and deliberately. Opening windows and running fans for a period helps flush residual moisture and brings the temperature back to livable levels. Rushing the cool-down can cause condensation inside electronics and on cold surfaces, which creates a separate problem the homeowner doesn’t need.
Preparing the Room So Heat Can Do Its Job
Preparation is the single biggest variable in whether a heat treatment succeeds. I tell every client the same thing before the crew arrives: the more open space the heat has access to, the more uniform the kill will be. That means pulling furniture slightly away from walls, opening dresser drawers, leaving closet doors ajar, and removing anything that could melt or burst. Bedding goes into sealed bags and runs through a high-heat dryer cycle before coming back into the room, because re-infesting a clean room with infested linens is an avoidable tragedy.
Cracks and gaps need attention too. Silicone caulk around baseboards, outlet covers, and pipe penetrations does two things at once: it blocks the bugs’ travel routes, and it prevents heat from escaping into wall cavities where the sensors can’t see it. Mattress and box-spring encasements rated for bed-bug containment go on after the heat cycle, not before, because the encasement traps anything still alive inside and starves it out over time. I’ve seen homes stay clean for years because the encasements were installed correctly and left in place.
One habit I recommend to every homeowner is keeping a small flashlight clipped to the bedroom wall. The five-second check of the mattress seam and the headboard before bed costs nothing and catches problems before they spread.
Monitoring After the Heat Cycle
Heat treatment is not the end of the story; it’s the middle. The follow-up monitoring is what separates a clean home from a home that re-infests in three months. Bed-leg interceptors are the cheapest insurance policy a homeowner can buy — small plastic dishes that sit under each leg of the bed and trap anything trying to climb up. I check them weekly for the first month and monthly after that. A clean interceptor a year later is more reassuring than any verbal guarantee.
Glue-board monitors placed along the baseboard near the headboard and behind the nightstand give a visual confirmation that nothing is moving. They aren’t a control method on their own, but they’re an early warning system that costs almost nothing. What I tell clients is that monitoring isn’t about paranoia; it’s about catching a single survivor before it becomes a population.
A two-week follow-up inspection by the original technician is standard in most reputable programs. The technician should walk the same spots, look for fresh fecal spots, and confirm that the interceptors are clean. If anything is found, the conversation about next steps happens early, when the options are still simple.
Travel Habits That Keep Bed Bugs From Coming Home
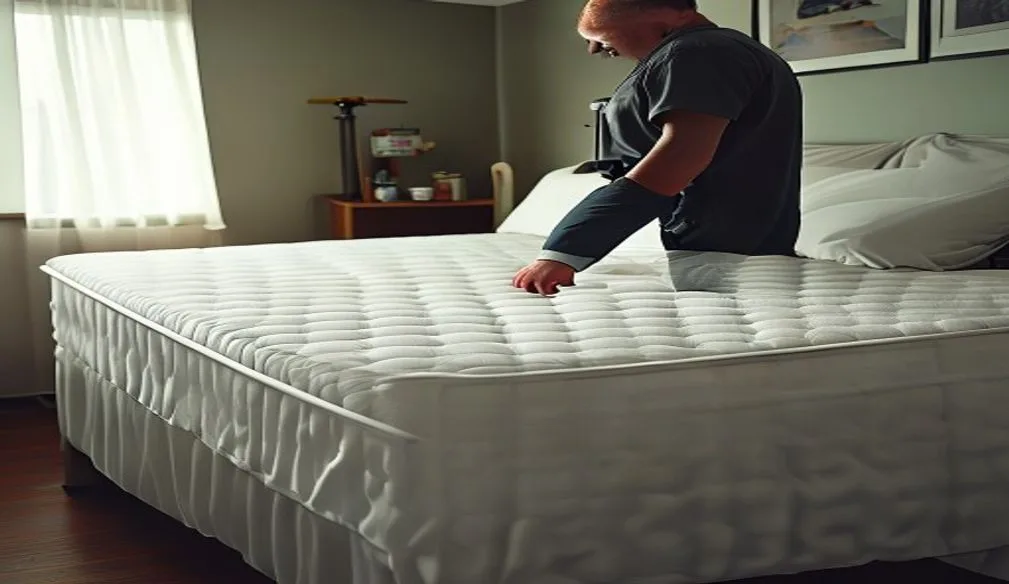
Most of the infestations I see started with a suitcase. Hotels, short-term rentals, and even cruise cabins can harbor bugs, and a single fertilized female in a seam is enough to start a colony. The inspection takes about three minutes: pull back the sheet, shine a flashlight along the mattress seam and the headboard, and look for tiny dark spots or live insects. Luggage stays on the rack, never on the bed or the floor. When the trip ends, clothing goes straight into a washer and dryer on high heat before anything touches the closet.
A hand-held steamer run over the interior seams of the suitcase is a step most travelers skip, and it’s the one that catches the hitchhikers the inspection missed. Heat inside the lining of a soft-sided bag is something bugs can survive for a short time, but a sustained pass with steam is not.
When a Licensed Professional Becomes Necessary
There is a level of infestation that no homeowner should try to manage alone. Bugs in multiple rooms, evidence in wall voids, recurring bites on different family members, or any sign of a breeding population beyond a single piece of furniture all point to a job that has outgrown DIY methods. A licensed pest-management professional brings the equipment, the monitoring instruments, and the training to hold lethal temperatures uniformly across an entire structure. I’ve walked into homes where a week of hesitation turned a localized problem into a whole-house infestation, and the cost difference was painful to watch.
Choosing a professional comes down to a few questions. Ask how they monitor temperatures, how many sensors they use per room, and what their protocol is if a sensor lags. Ask whether preparation is included or billed separately. A company that explains the process clearly and documents the readings is a company that takes the work seriously.
What Homeowners Often Get Wrong
The most expensive mistake is treating heat as a one-shot solution. Heat kills what’s in the room at the moment of the cycle; it does nothing for the suitcase in the closet, the box under the bed, or the neighbor’s unit in an apartment building. Reinfestation prevention is a separate discipline, and it starts the day the heaters leave.
The second mistake is skipping the encasements. A mattress that survived the heat cycle can still shelter a survivor that walked in from a neighboring unit two months later. The encasement seals the mattress and box spring and turns them into a surface that can be inspected in seconds.
The third mistake is clutter. A bedroom full of stored items, stacked books, and piled clothing is a bedroom where heat cannot circulate. The bugs survive in the cool pockets, and the homeowner wonders why the treatment “didn’t work.” It worked exactly as well as the room allowed it to.
Putting It All Together
A successful heat treatment is a chain of disciplined steps: a thorough inspection, careful preparation, professional-grade equipment, sustained lethal temperatures, and patient monitoring afterward. Skip any one of those links and the chain breaks. In my experience, the homeowners who stay bug-free for years are the ones who treat the heat job as the beginning of a routine, not the end of a problem. The flashlight stays clipped to the wall, the interceptors stay under the bed legs, and the suitcase gets inspected before it ever opens on the bedroom floor.
For anyone facing an active infestation, the right next step is a conversation with a licensed professional who can evaluate the scope of the problem and recommend a plan that fits the home. The information here is meant to support that conversation, not replace it — every structure is different, and a trained eye on site is worth more than any checklist.
Frequently Asked Questions
What should I do before a professional heat treatment?
Preparation is key to effective heat treatment. Remove or securely bag items that could be damaged by heat, and follow all instructions provided by your pest control company.
Typical steps include decluttering, washing and drying fabrics on high heat, and keeping treated areas accessible. Do not apply DIY pesticides before heat treatment, as they can be dangerous and reduce effectiveness.
How can I confirm bed bugs are gone after treatment?
Use a combination of monitoring methods over several weeks.
- Place interceptors on bed legs and check for trapped insects.
- Inspect common hiding spots with a flashlight and magnifier if available.
- Look for new cast skins, tiny dark spots (fecal stains), or live bugs.
Continue monitoring and follow up with your pest professional if signs return.
How long does professional heat treatment take?
Professional heat treatments for bed bugs usually require several hours to raise room temperatures to levels that affect all life stages. You should plan for limited access during the service and follow any pre- and post-treatment guidance provided by the pest management professional.
What are signs of bed bugs in luggage after travel?
After travel, check luggage and nearby areas for bed bug signs such as tiny brown spots (fecal marks), pale shed skins, small eggs or eggshells, and live or flattened bugs. Early detection can help prevent establishing an infestation in your home.