Finding a reliable mattress encasement is the single most effective barrier you can add after you confirm bed‑bug activity. A well‑chosen cover traps any insects already inside and stops new ones from reaching the mattress surface, buying you time while a professional treatment plan is arranged.
What to Do the Moment You Spot Evidence
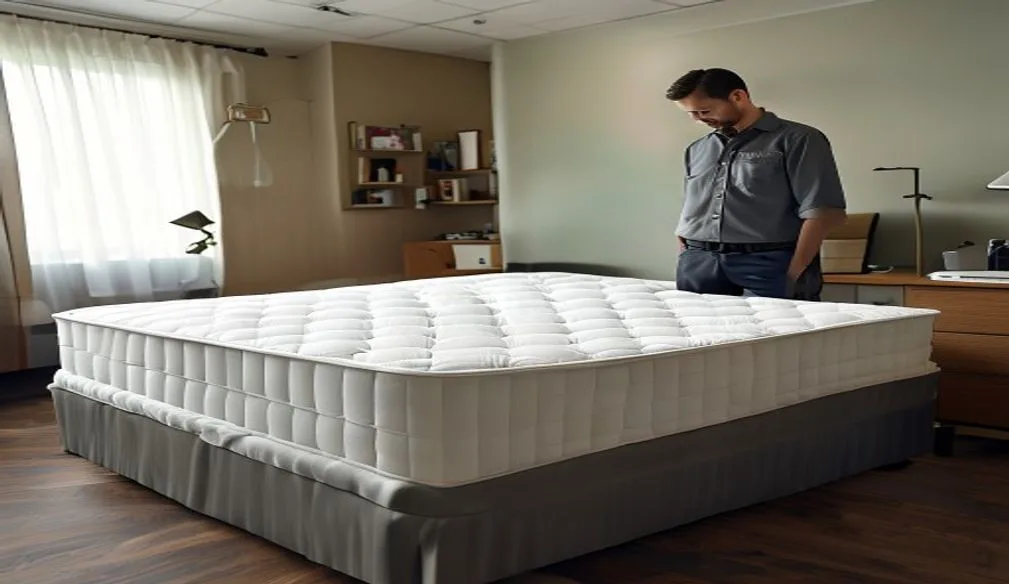
In my field work I often see homeowners wait too long before sealing a mattress, which lets the population spread to box springs, headboards, and nearby furniture. The first step is to strip the bed completely, bag all linens in sealed plastic, and run them through a hot‑water wash followed by a high‑heat dryer cycle. While the laundry runs, vacuum every seam, tuft, and crevice of the mattress and box spring, then immediately dispose of the vacuum bag in an outdoor container. What I tell clients first is to isolate the sleeping area before anything else — place the mattress on a clean, hard surface away from walls and keep the bed frame legs inside interceptor cups. This physical containment stops the bugs from crawling to new harborages while you prepare the encasement. I have watched a single night of delay turn a localized problem into a multi‑room infestation, so speed matters more than most people realize.
After the bed is isolated, I recommend a quick visual inspection of the surrounding baseboards and carpet edges with a flashlight. Mark any fresh fecal spots or shed skins with a piece of tape; those markers become your reference points when you later verify that the encasement is holding. In my experience, a systematic walk‑around reduces the chance of missing a satellite harborage that could re‑seed the mattress once the cover is on.
Choosing a Bed‑Bug‑Proof Encasement
Not every zippered cover sold as “allergy proof” will stop a determined nymph. Look for three non‑negotiable traits: a fabric weave tighter than 1 mm pore size, a zipper that closes with a protective flap or Velcro seal, and breathability that prevents condensation buildup. I’ve watched encasements fail when the zipper isn’t fully sealed, so test the closure by running a finger along the entire length before you commit. From experience, a tight‑weave fabric that breathes beats a plastic membrane every time — it stays cooler, resists tearing, and still blocks every life stage. The table below summarizes the three common construction types you’ll encounter on the market.
| Construction | Typical Material | Breathable | Typical Warranty |
|---|---|---|---|
| Tight‑weave fabric | Polyester/cotton blend, 1 mm pore | Yes | 5–10 years |
| Membrane‑based | Polyurethane laminate | No | 3–5 years |
| Hybrid (fabric + membrane) | Micro‑denier knit with breathable film | Yes | 8–12 years |
When I specify a cover for a client, I always ask them to feel the fabric — if it feels like a thin shower curtain, it’s likely a membrane that will trap heat and eventually crack. A quality tight‑weave feels like a soft canvas and will survive the 18‑month minimum encasement period without developing pinholes. I also remind buyers to verify that the zipper track is reinforced with a double‑stitched flap; a single stitch line is a common failure point I have repaired on more than one occasion.
Installation and Ongoing Care
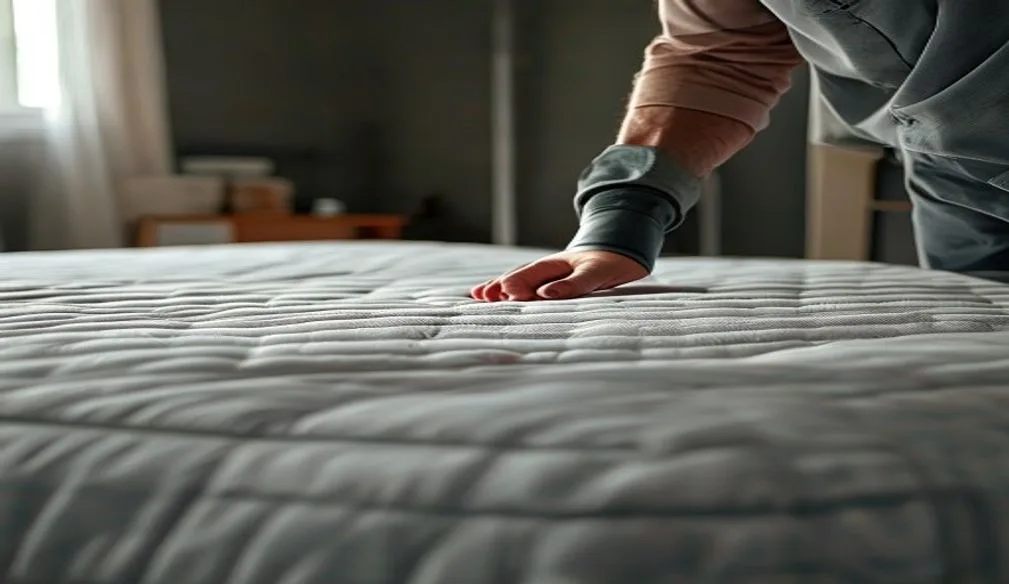
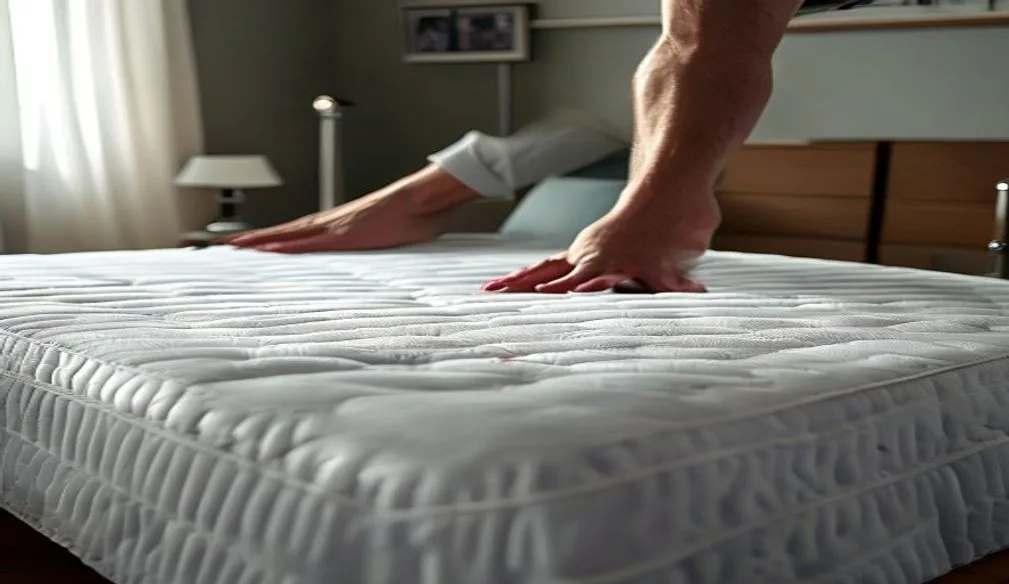
Slide the encasement over the mattress slowly, aligning the zipper track with the mattress edge to avoid snagging. Once the cover is fully zipped, press the protective flap down and run a hand along the seam to confirm there is no daylight visible. Leave the encasement in place for at least 18 months — bed bugs can survive that long without a blood meal — and never remove it for spot cleaning. If a spill occurs, spot‑clean the exterior with a damp cloth and mild detergent, then allow the cover to air dry completely before re‑zipping. Regularly inspect the zipper teeth and flap for wear; a single broken tooth can become an entry point.
I advise setting a calendar reminder for a quarterly zipper check. In one case, a client discovered a tiny gap after six months because a pet had clawed the flap; catching it early prevented a full re‑infestation. Also, avoid using harsh chemical cleaners on the cover — they can degrade the fabric’s pore structure and compromise the barrier.
Long‑Term Prevention Habits
After the encasement is secured, treat the surrounding environment with the same rigor. Encase the box spring in a matching cover, install interceptor cups under each bed leg, and keep the headboard at least two inches from the wall. Reduce clutter around the sleeping area — stacks of books, laundry piles, and stored boxes give bugs hidden pathways. When traveling, inspect hotel seams with a flashlight, keep luggage on a rack rather than the floor, and immediately launder all clothing on the highest heat setting upon return. These habits, repeated consistently, break the reinfestation cycle far more reliably than any single product.
From my own travel routine, I always pack a small zip‑lock bag for dirty clothes and a portable steamer for quick heat treatment of any suspicious items. I have seen a single overlooked suitcase introduce a new colony into a previously clean home, so the extra few minutes of vigilance pay off exponentially.
When Professional Help Makes Sense
Even the best encasement cannot eliminate a colony that has already spread into wall voids, electrical outlets, or adjacent apartments. If you continue to see fresh bites, fecal spotting, or live insects after 30 days of full encasement and diligent monitoring, it’s time to call a licensed pest‑management professional. They can apply targeted heat or steam treatments, apply residual dusts in voids, and coordinate with building management if the infestation crosses unit lines. Remember, the encasement is a containment tool — not a cure — and the fastest resolution comes from pairing it with expert intervention.
In my practice, I have coordinated with property managers to treat entire floors simultaneously, which prevents the “ping‑pong” effect where bugs migrate back and forth between units. A professional inspection also reveals hidden harborages — behind baseboards, inside curtain rods, under carpet tack strips — that a homeowner rarely thinks to check. Combining those findings with a solid encasement strategy gives the highest probability of permanent eradication.
Frequently Asked Questions
Can bed bugs live in a foam mattress?
Bed bugs do not burrow inside memory foam, but they readily hide on seams, zippers, labels, and the underside edges where the cover meets the frame.
Foam mattresses still need encasements and seam inspections like any other bed. Focus on tufts, piping, and nearby furniture—not the foam core itself.
Can bed bugs live on memory foam mattresses?
Yes—bed bugs can live on memory foam mattresses by sheltering in seams, folds, and bed frames. They are not inside the foam block but on surfaces you touch when changing sheets.
Check piping with a flashlight, install a bed-bug-proof encasement, and isolate the bed from walls while you monitor or schedule professional treatment if needed.
Can you see bed bugs with the naked eye on a mattress?
Yes. Adult bed bugs are about apple-seed size (4–5 mm), reddish-brown, and visible on light-colored mattress fabric when you part the seams with a flashlight.
Nymphs and eggs are harder to spot but still visible as tiny pale insects or white pinhead ovals. Slow, close inspection beats a quick glance—check seams, tags, and box spring corners.
How do you identify bed bugs on a mattress?
Strip bedding and run a flashlight along mattress seams, piping, tags, and the box spring corners. Adults are apple-seed sized; eggs are pinhead white ovals glued in clusters.
Look for rusty blood spots on sheets and dark fecal dots that smear when lightly wiped. Repeat on both sides of the mattress and the bed frame before deciding on encasements or professional help.